Rolled Roofing Nailing Pattern

The Standard Nailing For Asphalt Shingles Is A Four Nail Pattern With Nails Placed 1 Inch From Each End Of Each Shingle And Then Shingling Diy Roofing Roofing

Pin On Gutters And Downspouts

Pin On Deck

Metal Roofing Screw Placement Metal Roof Installation Roofing Diy Roof Installation

Typical Standing Seam Roof Detail From Copper Development Association Standing Seam Standing Seam Roof Roofing

Asbestos Application Methods Roofing Historic Preservation Historic Properties

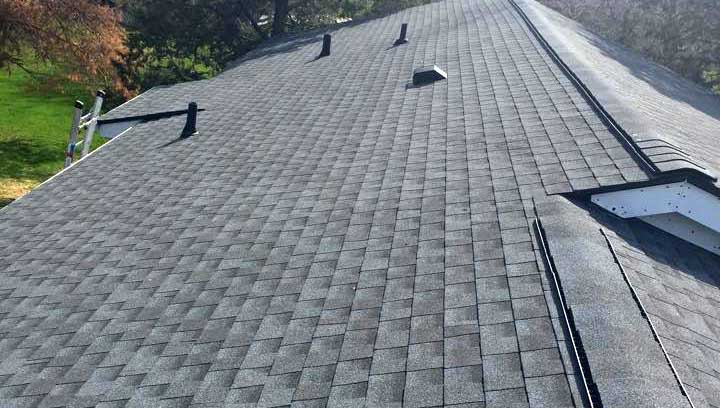
Cover the valley of the roof.
Rolled roofing nailing pattern.

Pin On The Shopchimney Blog

How To Install Asphalt Shingles Nailing On Ridge Cap Building A Shed Shed Installing Roof Shingles

Check Out How To Fix Roll Roofing Problems In Easy Way Roofingproblem Fixingroofdamages Almeidaroofing Roof Problems Roll Roofing Roofing

Tile Roof Rooftopgarden Rooftop Garden Drawing Drawing Drawing 2020

V 11 Rain Diverter A Great Alternative To Gutters Gutters Rain Diverter Rain Gutters

Pin On Your Pinterest Likes
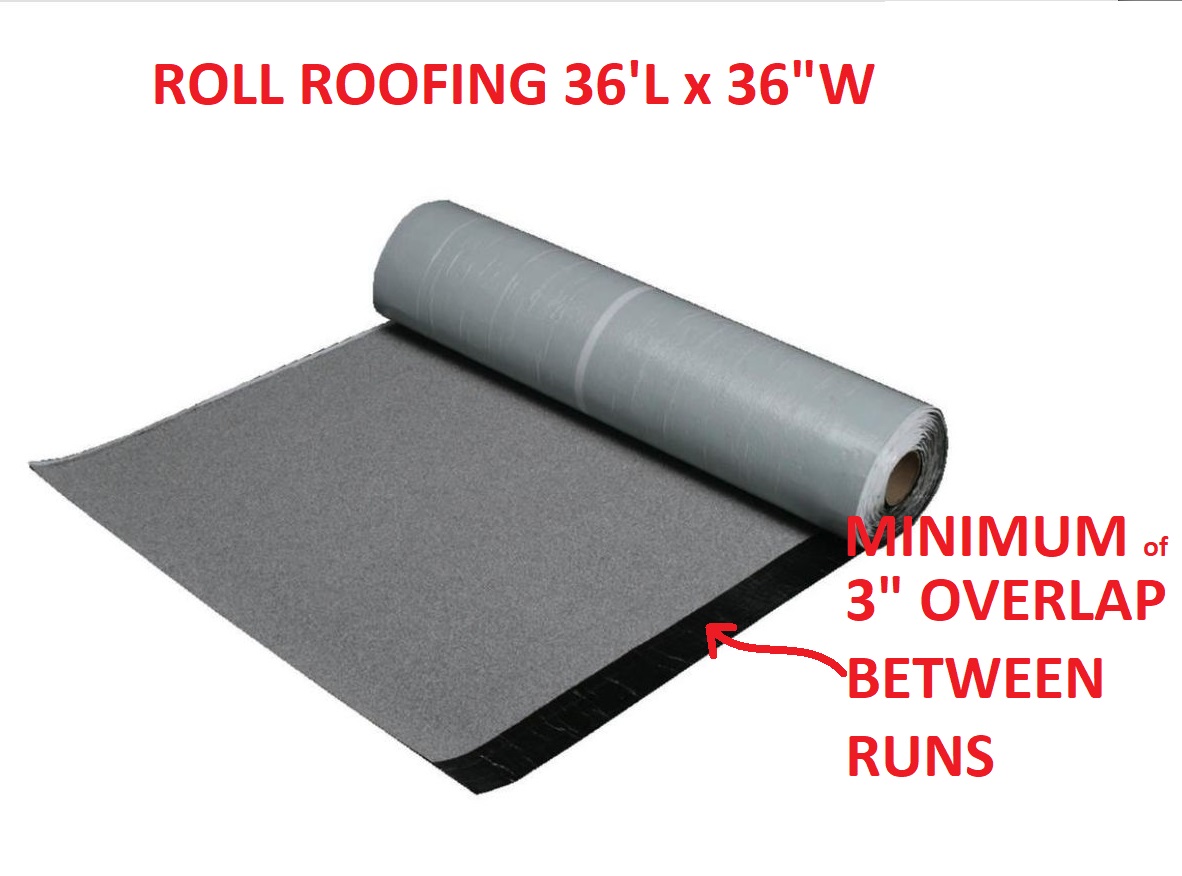
Asphalt Sbs Roll Roofing Installation Details How To Install Roll Roofing

How To Apply Roll Roofing Diy In A Hour

Gable Soffit And Fascia Vinyl Siding Installation Installing Siding Diy Roofing

Flat Roof Inspection With A Focus On Modified Bitumen The Ashi Reporter Inspection News Views From The American Soc In 2020 Flat Roof Roof Inspection Roof Detail

Pin On Roofing

Sheet Metal Roofing Contractors New York Zinc Roof Sheet Metal Roofing Metal Roofing Contractors

Gaf Timberline Hd Roofing Shingles Architectural Shingles Roof Architectural Shingles Roof Shingles

Timberline Shingles Driftwood Architectural Shingles Roof Architectural Shingles Roof Shingles

Estate Gray Roofing Shingling Roof Shingles

Kitchen Backsplash Faux Decorative Antique Copper Plastic Wc 70 Wall Covering Ul Rated 25ft Roll X 2ft Glue On Faux Tin Decorative Backsplash Tin Backsplash

Camelot Shingles Roof Repair Brown Roofs Roofing
How Many Roofing Nails Per Square Allpoint Construction
Https Encrypted Tbn0 Gstatic Com Images Q Tbn 3aand9gcqbijimhrvmkpsbeaai4jypufpaxbk8xt6su8va9v2ktaywxvkg Usqp Cau

Image Result For Typical Corrugated Sheet Fixation Detail Roofing Nails Roof Detail Corrugated

Does Your Curbappeal Need A Boost Try Certainteed S Grandmanor Shingles In Gatehouse Slate This Luxurious Shingle Colors Roof Shingle Colors Roof Shingles

Pin On Minimal Barn Houses

Pin On Work

Roofing Contractors In Southern Maryland Di 2020
Source : pinterest.com
